This spice mixture is the holy grail for me, when it comes to my teas or Dhoodh Chai (a traditional drink that has a combination of tea and milk). How you like your tea is matter of habit, more than anything.
At my in-laws’ place, most of the people like the basic tea which has tea, milk, water and sugar. The milk-water ratio is 50:50 for them. But, at my mother’s side, the teas are loaded with this masala. A normal person will start getting hiccups if you take a few sips of my mother’s tea. And the milk-water ratio is 30:70–so it’s thin in consistency and darkish brown in colour. We don’t drink our tea in China cups but in small steel tumblers and steel plates (that resemble saucers).
Usually, mum gives me this masala so that I’m always stocked with it. When my mum visits me, she would expect me to have some fresh ginger for her teas; or, chances are there, she might carry a large piece in her bag. Ginger and chai masala is a must in her tea. And gradually, I have noticed that I can’t do without it too. Just the ratio can be different.
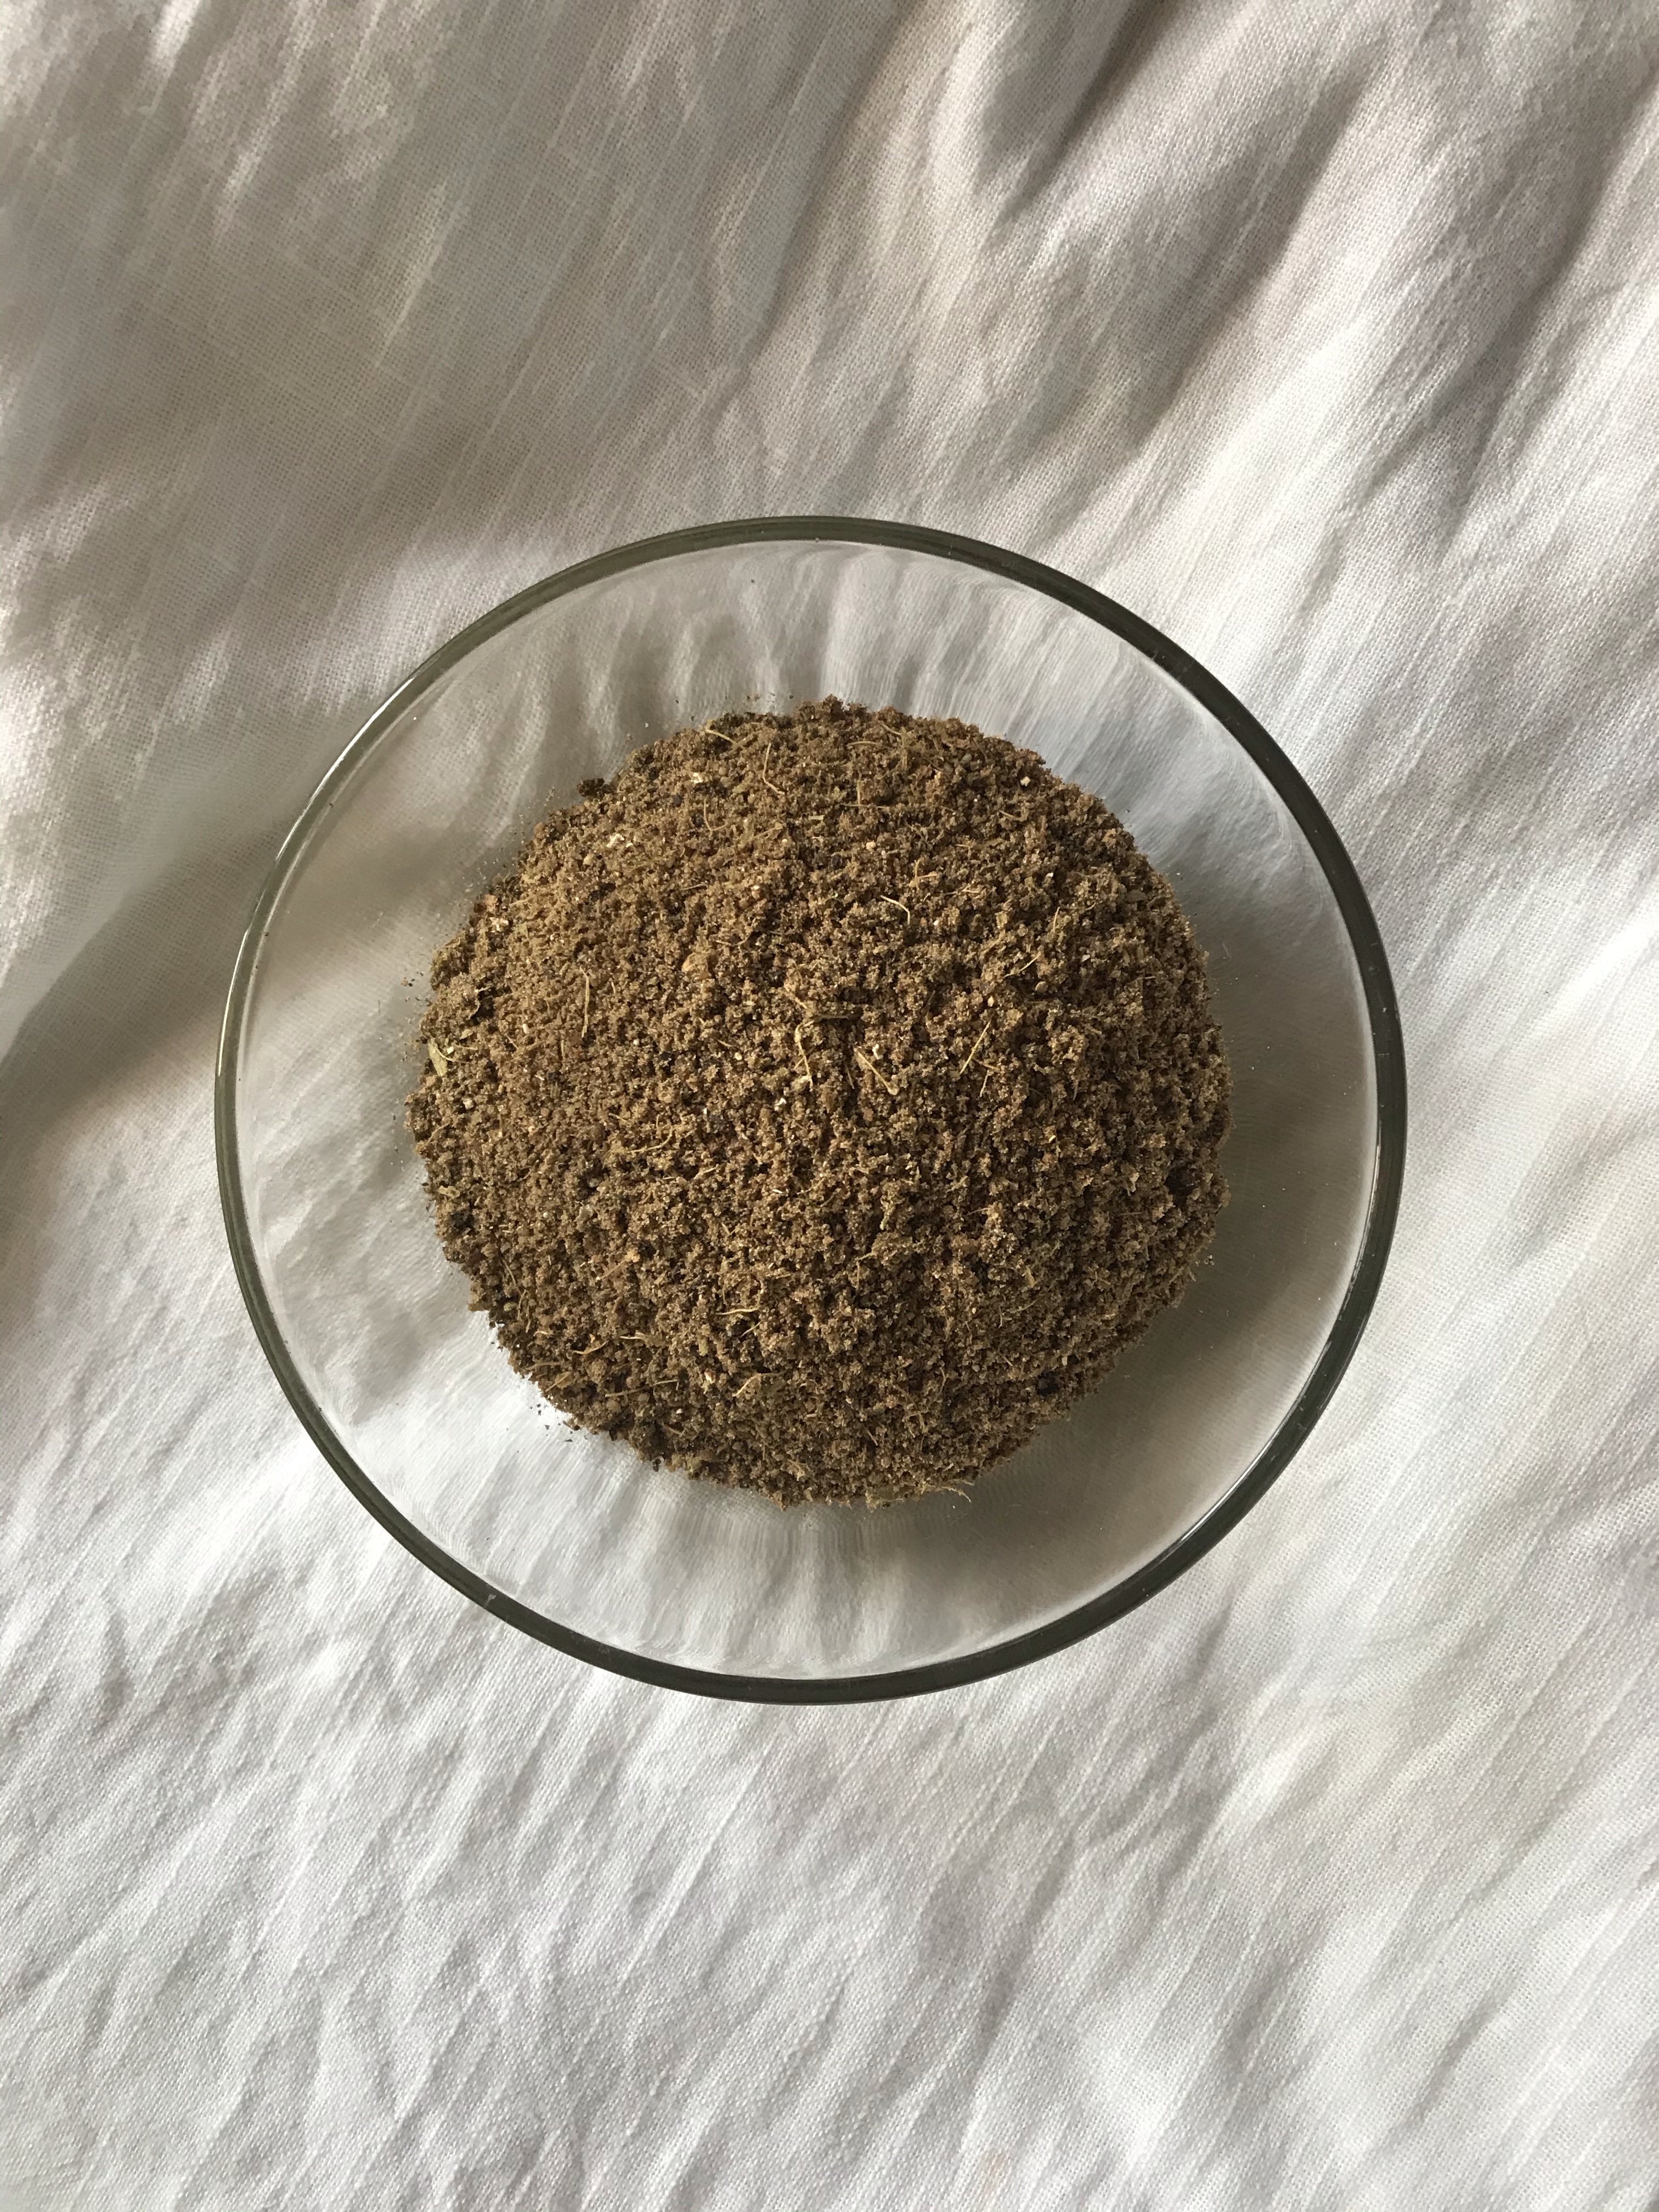
Recipe: My mother’s Chai Masala
Ingredients: 10-15 gm cardamom pods, 20-25 cloves, 50 gm black pepper, 1 piece of nutmeg (jaiphal), 1 piece of dry ginger or saunth or 3 gm ginger powder (the size of the nutmeg and the dry ginger should be almost the same).
Method: Chop the nutmeg into pieces and then put it in the grinding jar. Add all the whole spices in and churn till you can get a coarse powder out of it. Store it in a clean container. I like to add 2 to 3 pinches of this masala in two cups of tea.
It was yesterday when I and my husband were going about in the car with our kid to buy something, and I ended up watching these food carts selling Chola Kulcha. At one particular cart, I saw a school girl waiting for her turn, and the food seller was busy mixing his matar chola with some fresh veggies; the aroma was something that I could notice while sitting in the car. Now, given the current situation, we try not to indulge in roadside or restaurant food. And I knew I had to make it at home, come what may. So, late in the evening, we went to buy some white matar and kulcha for our Sunday lunch.
We have lived in Gurgaon for almost five years, and in our residential area, there was this famous Chola Kulcha guy by the name Pramod. There were always some SUVs parked near his food cart. For the nearby office people, this food cart was like a blessing. And it was the same for us. Every weekend, we tried to buy a plate of Chola Kulcha with a glass of buttermilk at his place. And with every plate, we became even more certain he makes it the best.
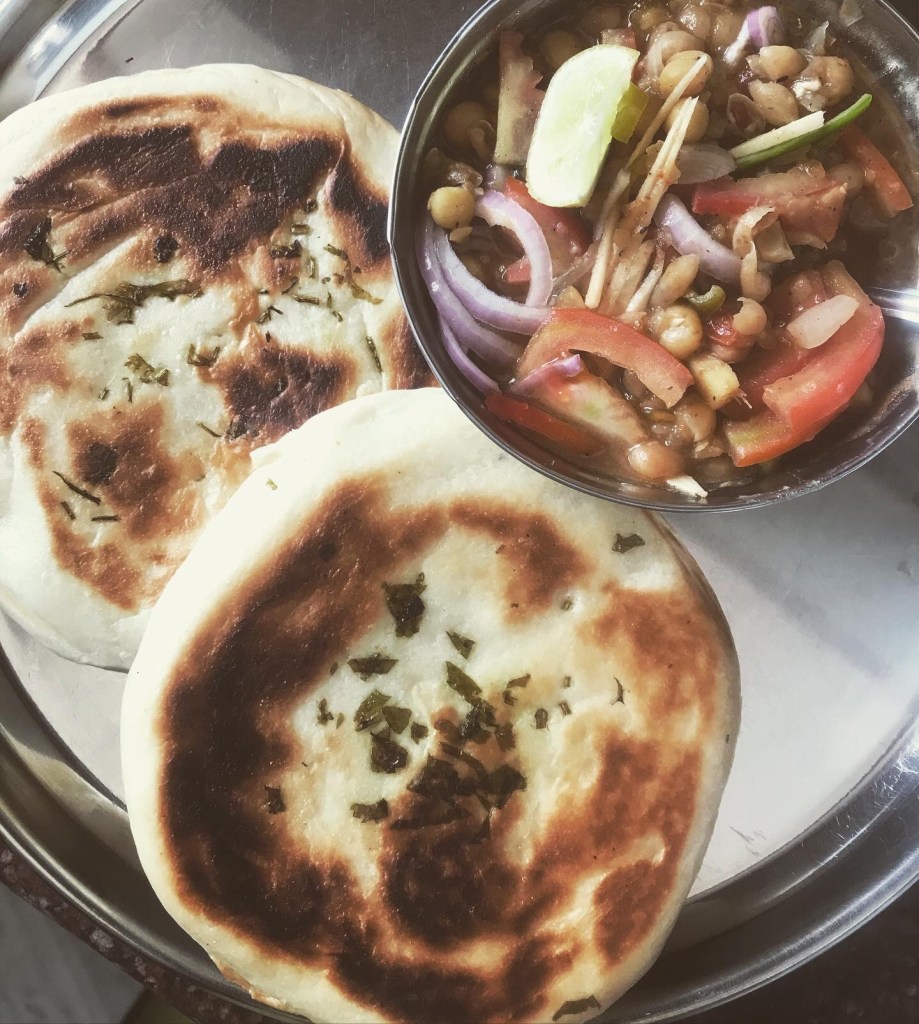
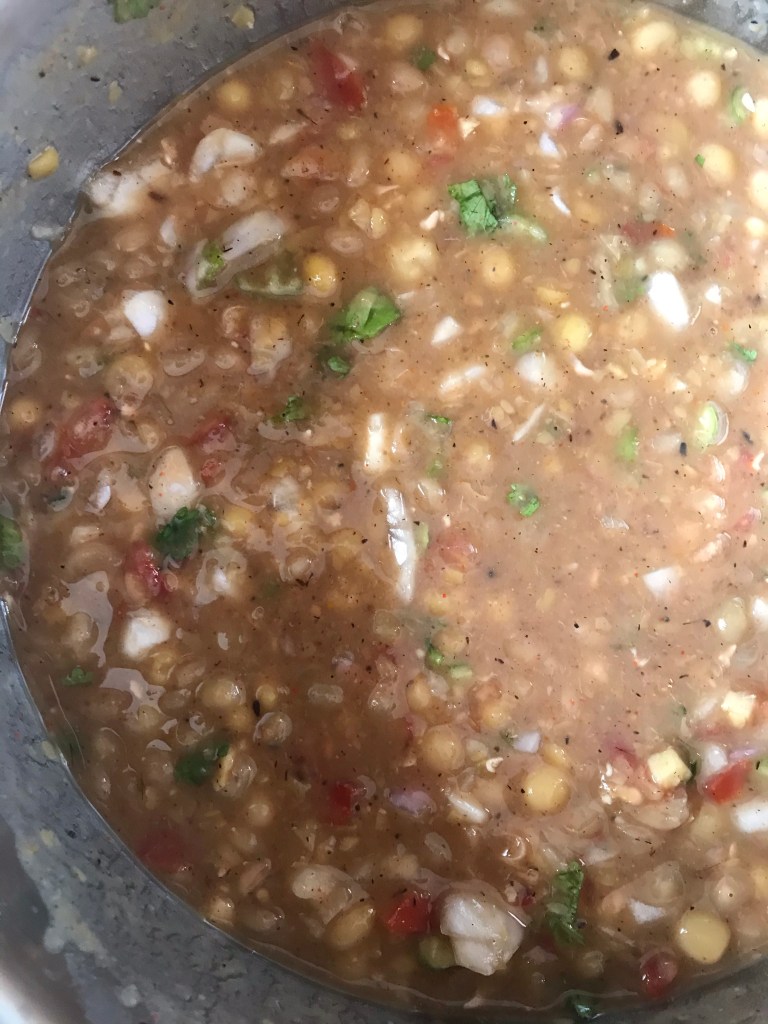
This is what you require to garnish your bowl of Matar Chola: ginger, green chilly (preferably a pickle), tomato, onion and lemon wedges. Pramod people also give their customers a salad that comprises beetroot, cucumber, carrot and onion–but I just went with the garnish.
Recipe: Matar Chola Adaption from: Meenu Tomar’s Kitchen (thank God for her)
Ingredients: White matar – 350 gms Onions – 4 (two for the gravy, two for garnish) Tomatoes – 4 (two for the gravy, two for garnish) Green chillies – 2-4 (mild ones) Ginger – 2 tsp finely chopped, 2 tbsp – sliced, length-wise Lemon – 2 (juice of a lemon, and lemon wedges) Spices: Garam masala – ¾ tsp Chola masala – 1 tsp Salt to taste Rock salt – 1 tsp Cumin powder – 1 tsp Black pepper powder – ½ tsp Red chilli powder – 1 tsp Chat masala – 1 tsp Raw mango powder – 1 tsp Coriander powder – 1 tsp Other ingredients: Tamarind chutney or tamarind water – ½ cup Coriander leaves – ½ cup For final garnish ingredients, refer to the image I shared above.
This is how the gravy looks, which has raw veggies and loads of spices in it.
Method:
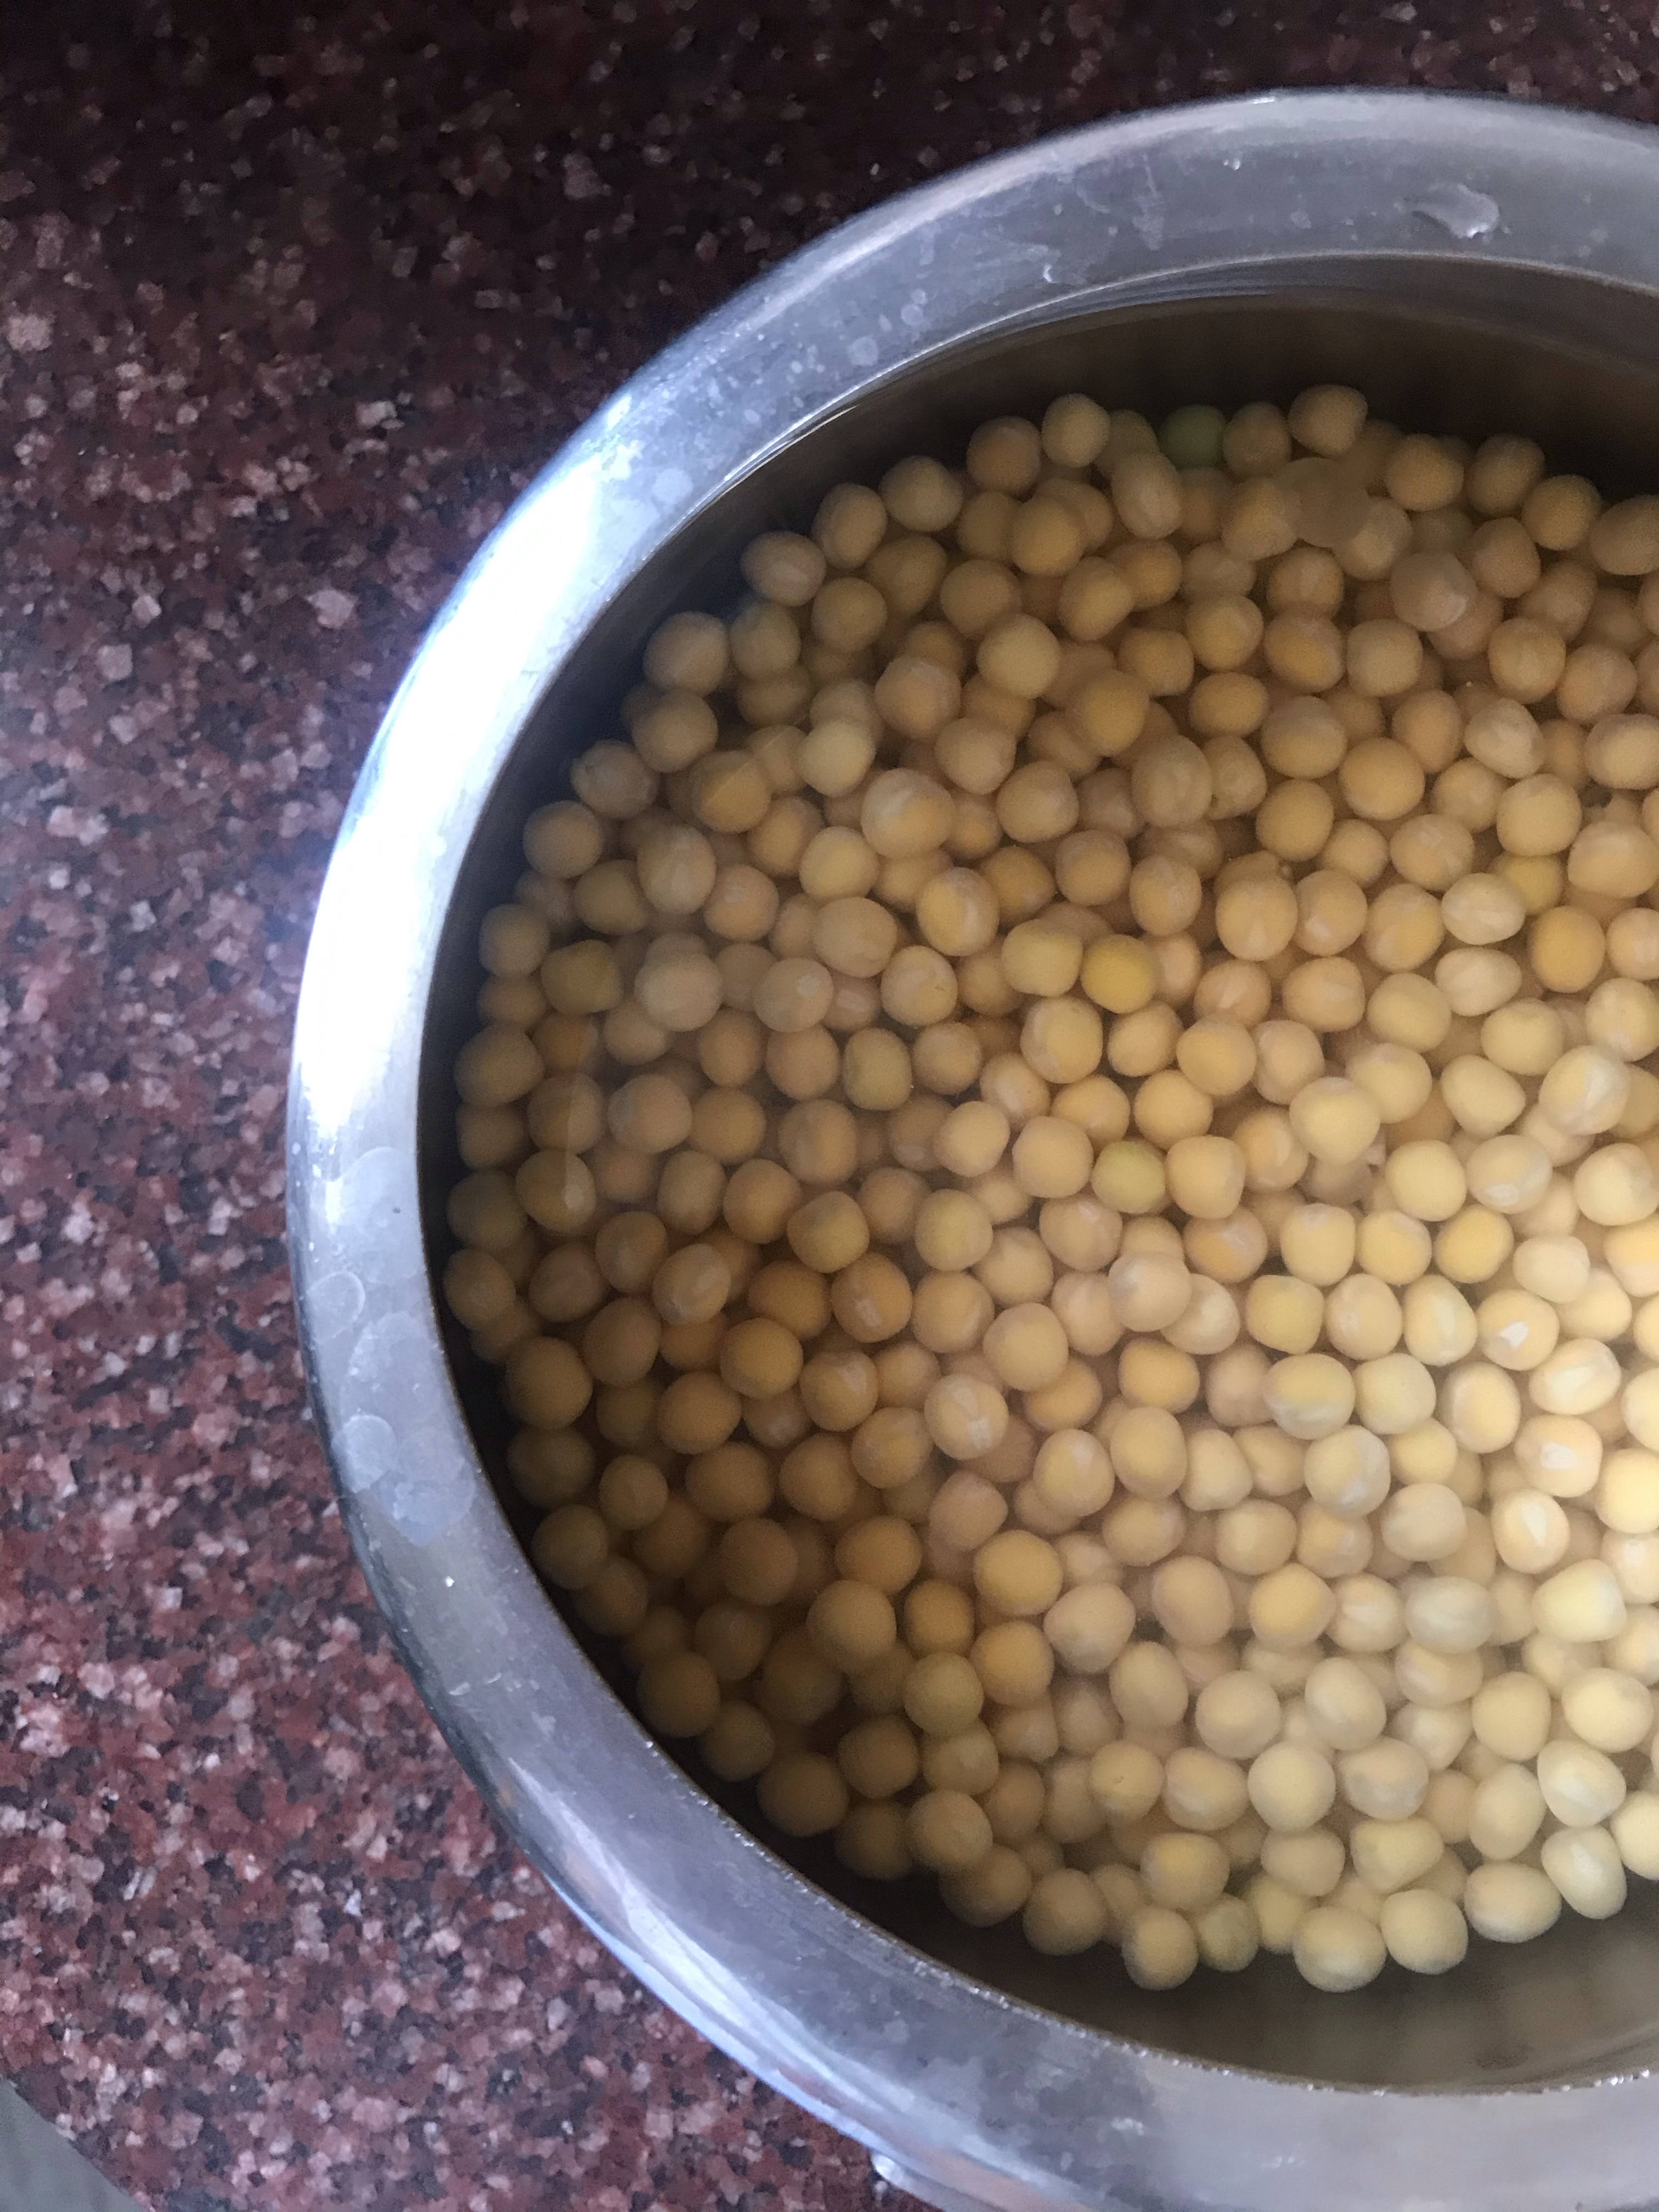
Soak the white matar overnight. Next morning, give it a boil in the pressure cooker. This will take a hell lot of time, so be patient. You can go for six whistles on low flame. When it comes to the quantity of water, I would say, make sure the matar is well-dipped in water. Then, you can add another cup, and it should be good.
Once the matar is cooked, add in all the spices; ginger, green chillies, coriander leaves, tamarind water, etc. Keep a plate separate that includes all the stuff you need to garnish. Mix this well. Use a potato masher, mash a bit for a better consistency.
Now, before serving, heat this mixture, and once hot, take a bowl of it in a plate. Add in the garnish materials as shown in the image: ginger, green chilly (you can use a homemade pickle as well), tomato and onion. Keep a lemon wedge in the plate as well.
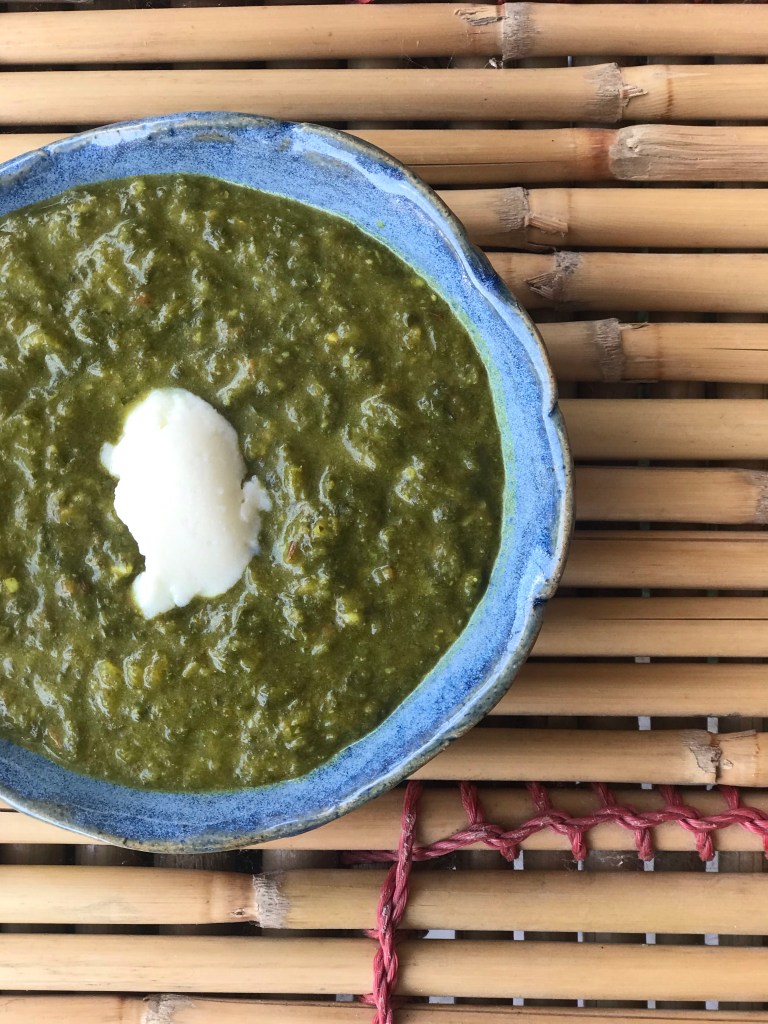
If you have your roots in the northern region of India, chances are high that you love your Saag. Now, usually, a Saag is made of mustard leaves, spinach and chinopodium album (that is sarson, palak and bathua in the local lingo). But as these are available in winters only, one can only dream of a saag during the hot summer days.
My mother-in-law loves her Saag. She is someone who would always be on time, and so, she’d spend her entire morning preparing for this, so that we can have this Saag at noon (and on time). So, this is her recipe; this is how she makes it. And I love it. Its rustic flavours are nourishing for your health. Have it with your whole-wheat/cornmeal/sorghum rotis/chapattis.
Ingredients:
One bunch of spinach, half glass water, 2 tbsp – gram flour (Besan), salt to taste, garlic cloves (three), ginger (1 tsp), 1 medium-sized onion, 2 small tomatoes, green chillies (two, if spicy), oil/butter for tempering, 1/4 tsp each of coriander and turmeric powder, two pinch – asafoetida, 1/2 tsp red chilly powder, a pinch of cumin seeds.
Method
1. Clean your spinach in water. Chop it roughly, including the stems. In a cooker, add in these leaves. Whisk one tbsp of gram flour in a small bowl and add it to this. Add in water and a bit of salt. Give it a whistle or two. And then, mash it with a potato masher. Some people prefer to grind it in a mixer. My MIL likes a coarse texture, so she avoids doing so.
2. Now, finely chop the garlic, green chillies, ginger, and onion. I used a vegetable chopper when I helped her prep. Keep it aside all together in a bowl. Then, finely chop the tomatoes and keep aside separately.
3. In a skillet, add in some oil. Then, add in the cumin, asafoetida, turmeric, and the onion, garlic, ginger and green chillies. Sauté till for two-three minutes, then, add in the tomatoes. Now, add in a bit more salt and the rest of the spices. Sauté for another five minutes.
4. Now, add in a tsp of gram flour and mix it really well. Whisk the gram flour paste beforehand if you want to, so that there are no lumps.
5. Lastly, add in the mashed spinach. Now, you don’t want too much liquid in your Saag, nor do you want it to be too dry. So keep mashing and stirring it, till you achieve the consistency. And voila!
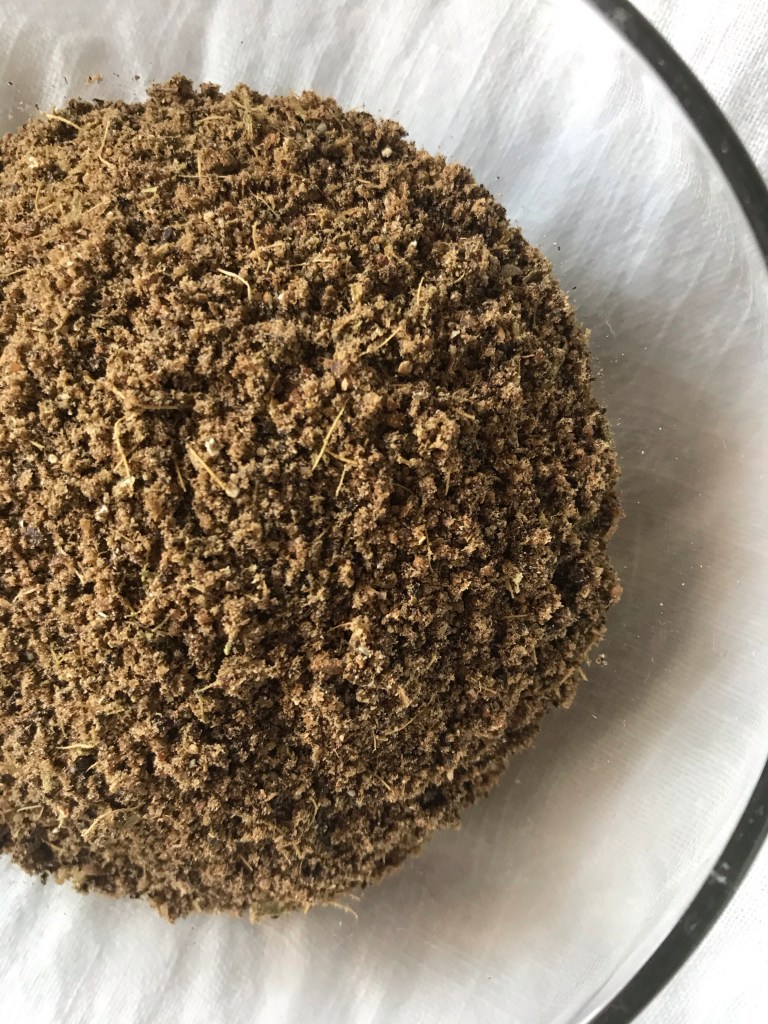
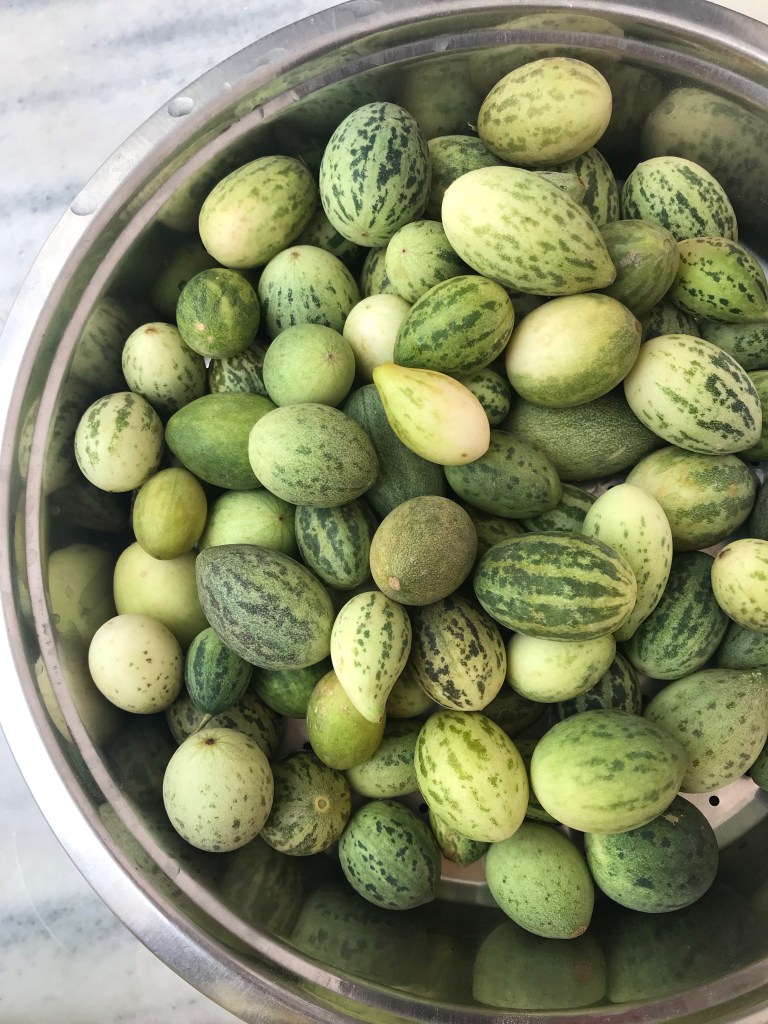
My mother-in-law makes this chutney and I loved it with parathas. It’s raw, and simple to execute. Shows how simple Haryanvi women like their food. Peel some wild melons, taste each (cut a slight portion) and make sure no melon is bitter. For this chutney, you can take 5-8 small wild melons. That’s the only hard work that you have to do.
Wild melon chutney has a fresh taste. It’s a bit citrusy but it’s still cooling like cucumbers. The onion in this recipe will give your chutney body, and you won’t stop eating it with parathas.
Ingredients:
Small wild melons (kachari) – 5-8; salt to taste; a medium-sized onion; green chilly – 1-2.
Method
In a grinding jar, add in all the ingredients. Make sure the melons are roughly chopped. Churn the mixture so that it has a coarse texture as shown in the image. Melon seeds are hard, so they won’t grind so easily, but you still have to be careful.
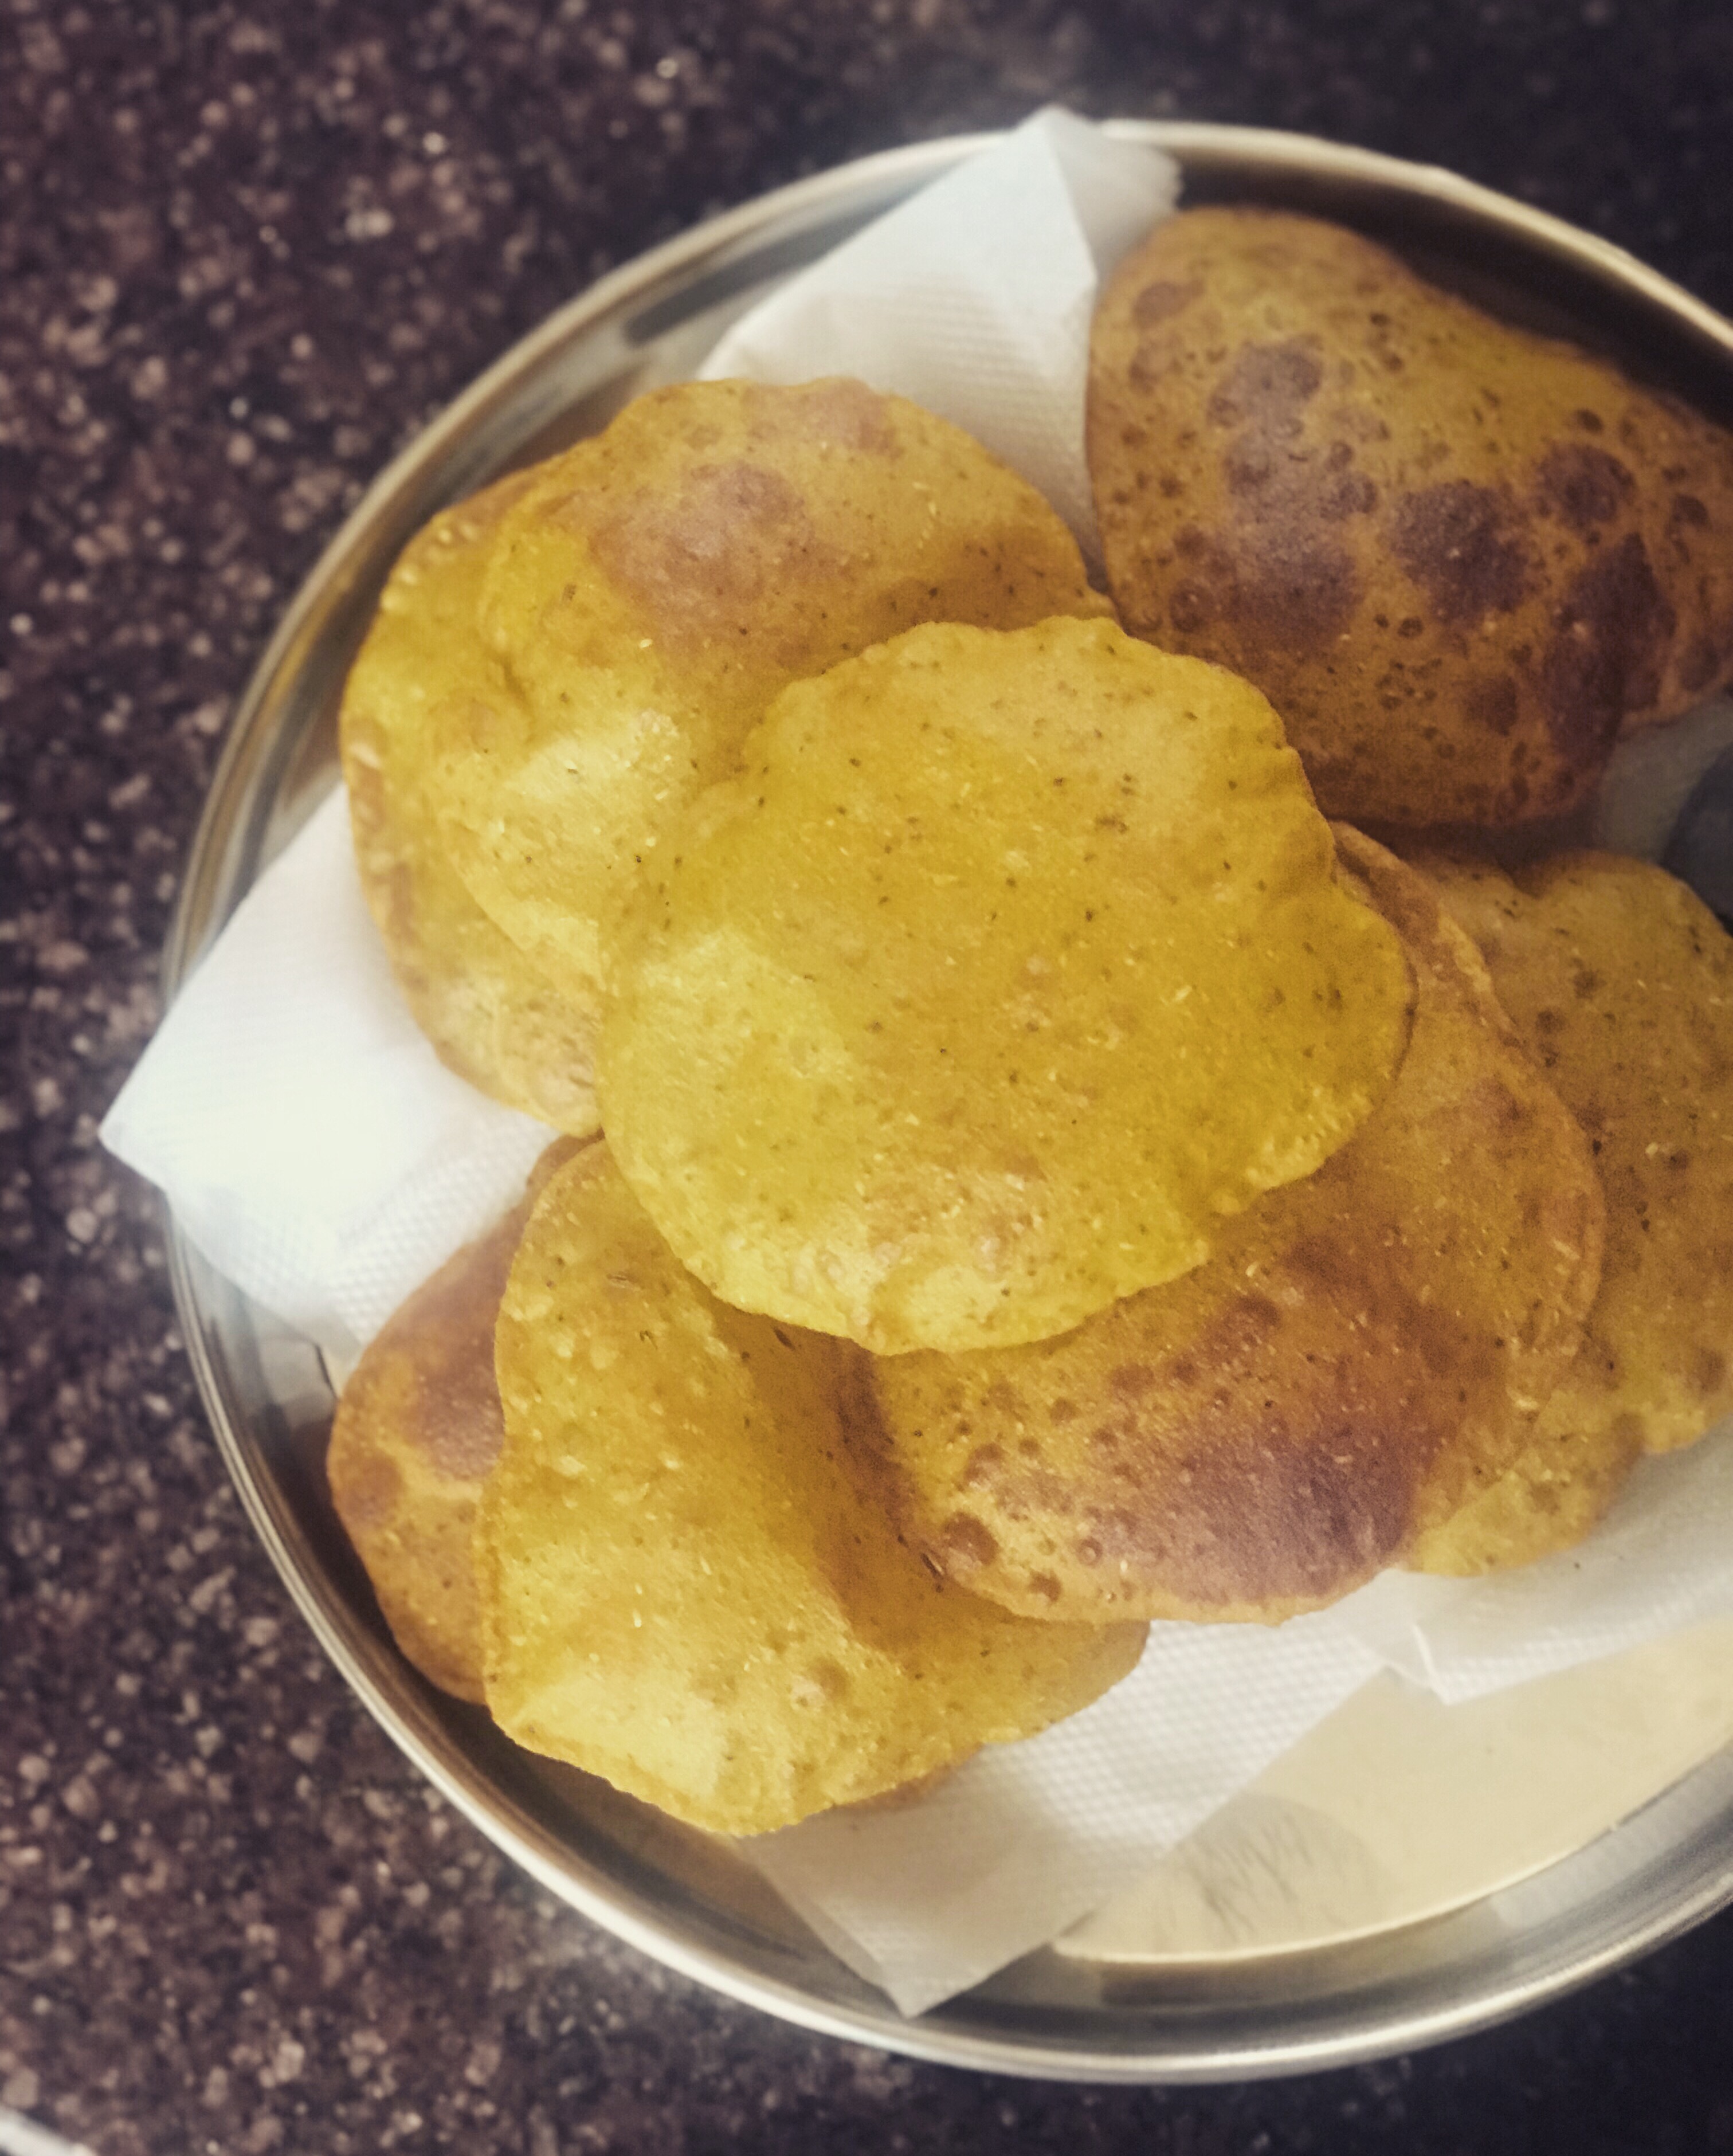
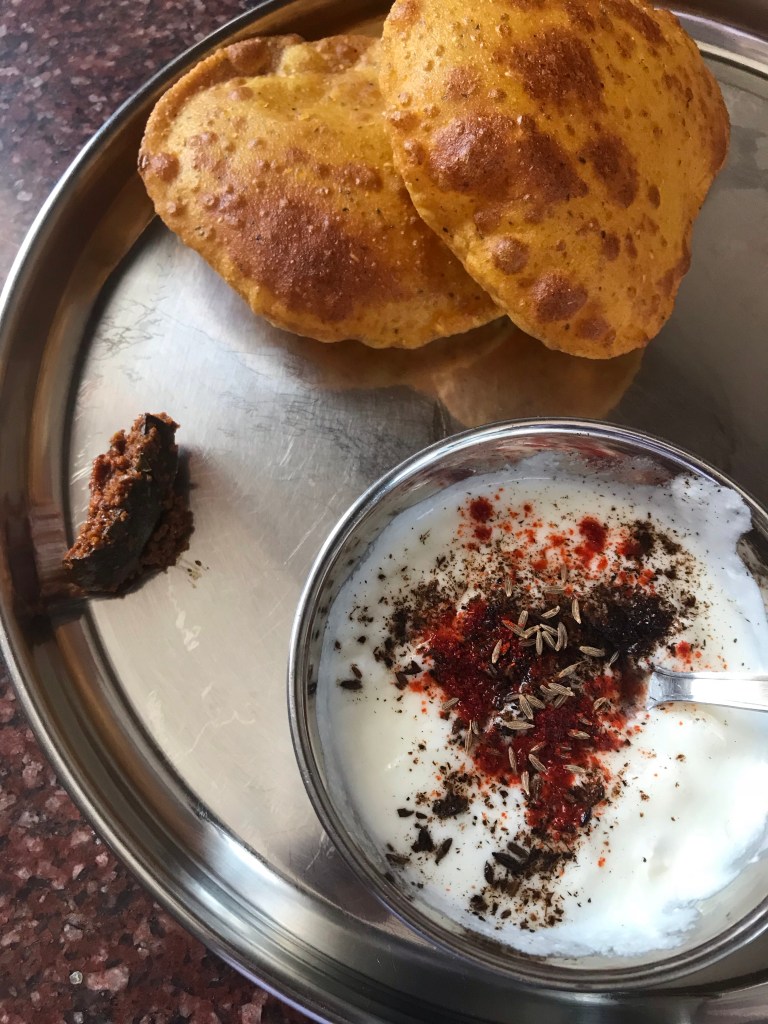
This is the best travel food in the world. And, something that is perfect for your busy mornings. Soft in texture, and full of flavour—masala pooris for me is pure love.
Ingredients and method:
One cup – whole wheat flour, 2-3 tbsps of gram flour (besan), two tsp – oil, salt to taste, 1/2 to 3/4 tsp of red chilli powder, 1/4 tsp each of turmeric powder, carom seeds (ajwain), cumin seeds and coriander powder. Mix the oil and the flour well, then add in the spices and knead the dough. We don’t need a tight dough, but preferably not loose too.
The best combination: mango pickle, fresh homemade curd and masala pooris.
Fry them in oil and have it with spices curd and mango pickle. You can make a batch and save it for later as well; the spices in it make it last more than a day. That means, it won’t go stale so soon.
As you all know, I and my husband left our Mumbai home in March this year, and we plan to go whenever his office reopens. Which, clearly, doesn’t look like soon. Whenever I used to crave a food dessert in Mumbai, I hardly had to bake anything at home. There were too many options out there. But I can’t say the same for Rohtak, which is why, I make things myself.
I’m at my MIL’s kitchen these days, and there was something I couldn’t crack till now. Baking. As there’s no oven in the kitchen, most of my baking dreams don’t exist (as if my baking skills are at par). But recently, when my dear friend, Vaidehi Venkatraman, shared a brownie recipe with me, I saw a ray of hope. Her suggestions are almost always the best. And, so, I couldn’t skip this cake recipe without trying. Little did I imagine, it turned out to be one of the best cakes I have made.
Baking cannot change your life, but it can surely heal your woes and lessen your heartache. My story idea rejections were lending me too much of anxiety, you see. Coming back to this cake. Try out these simple yet drool-worthy brownies that I made without oven, and I guarantee you’ll be on cloud nine.
Recipe inspiration: My Terrace Kitchen
Ingredients:
Whole-wheat flour – 1 and a 1/2 cup, sugar (I used regular one) – 3/4 cup, Dutch processed cocoa powder (I recommend mild flavour by Indian Natives) – 1/2 cup, almonds and walnuts – 1/4 cup, Olive oil – 4 tbsps, Makhan (homemade butter) – 1/2 cup (this should be melted before use), Baking powder – 1/2 tsp, Baking soda – 1/4 tsp, Vanilla essence (didn’t have extract) – two drops, Milk – 3/4 to 1 cup
How to set your skillet/kadai for baking
Put a packet of salt (empty the entire packet) in the skillet and place a steel stand on it. Take the biggest skillet available in your kitchen and cover it with a lid. You need to preheat it for 5-8 minutes on medium flame.
Method
1. Roast the nuts and keep aside (or add salt and a tsp of water to it, let it rest for 15 minutes and roast well as suggest by the Terrace Kitchen in her YouTube video).
2. In a huge bowl, add in the dry ingredients. Mix it well with a whisker. Then, add in the oil and other liquid ingredients. Add milk for consistency, as per your liking. We are not looking at a runny batter or a really thick one. It should be somewhere between the two. Then add the nuts and keep some for garnish.
3. Now, place a butter paper (if you don’t have it, spread some ghee on a normal white piece of paper – as once suggested by Kabita’s Kitchen) or aluminium foil on your cake pan. Don’t ever forget this. Without this, there are high chances your brownie cake will stick on the vessel. Make sure it is filled with the batter upto 3/4 of its size only. Don’t fill the pan with too much cake batter, as you’ll be baking in the kadai and you’d want to avoid spillage.
4. Take some salt and put it in the kadai. Preheat it for 10 minutes, then, dump the cake pan on a steel stand and cover it well with a lid.
5. After ten minutes, put the flame from medium to low. I checked after 30 minutes and it was not done (pushed a knife in the middle of the cake). After another 10-15 minutes, the cake cooked perfectly and didn’t stick as well; thanks to the foil.
6. Pull the cake out with the help of the foil after 15 minutes. Enjoy!
For a person like me, who’s into mostly traditional food, having seeds can be a task. You may add seeds to your smoothie bowls and salads, or just have it in a trail mix pack. Wish I liked smoothie bowls. For me, Mukhwas is a quick fix when it comes to having seeds in my diet. But it’s rare that I make this mixture myself. Thanks to the unending lockdown, I found myself making some this week.
You can keep a small jar of this Mukhwas on your dining table, handbag (well, we’re no more commuting), or the bedside table. If you have it at home, I would call it a luxury.
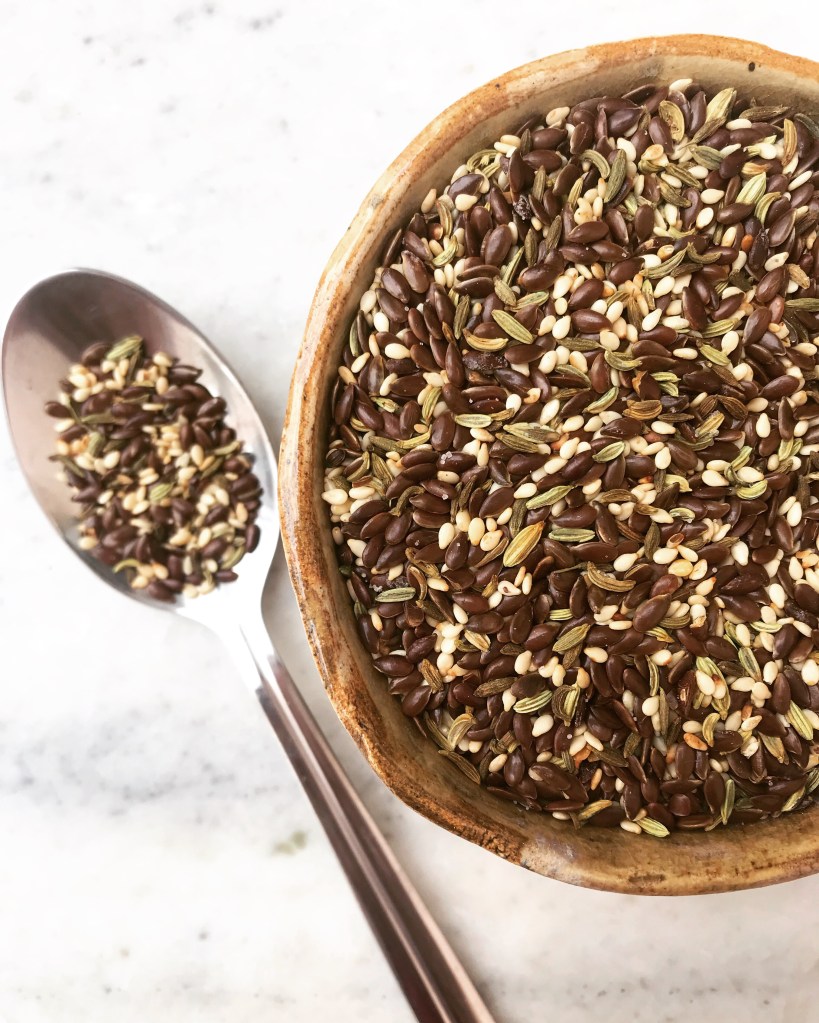
A tsp of this roasted seed mixture is perfect after meals, as it helps in cleansing your palate and improves digestion as well.
We all know flax seeds has omega-3 in it, and it’s something that’s good for your heart. White sesame seeds have calcium in it, and fennel seeds are good for your gut and overall health. Let’s see how I made this Mukhwas, shall we?
Roasted seeds
Ingredients:
Flax seeds, white sesame seeds, fennel seeds, salt and lemons.
Method
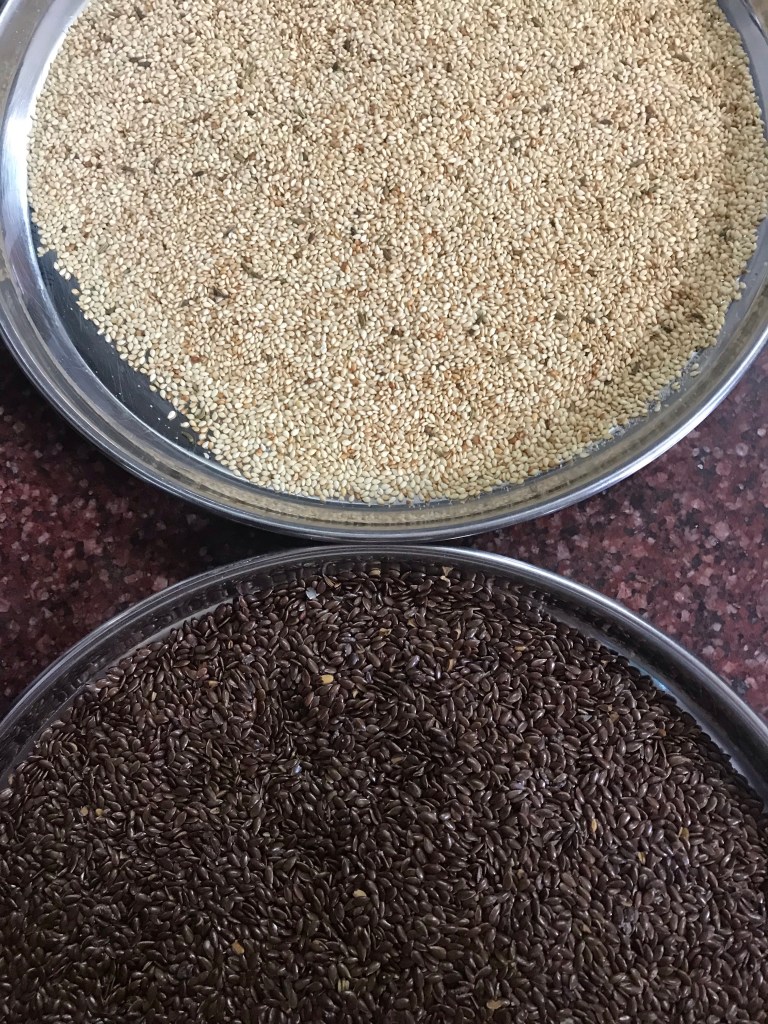
1. In a plate, empty your raw flax seeds and sprinkle juice of half a lemon on it. Add a bit of salt as well. Mix well and keep aside.
2. In a similar way, take a separate plate for each seed content, and repeat the process for fennel and sesame seeds as well.
3. After a few hours, you will need to roast these seeds on a skillet/kadai. You will need to roast each seed variety separately. Flax seeds took the maximum time for me (25 minutes). Fennel took 15 and sesame seeds took around 20 minute of roasting. Keep tasting the seeds in between. You will need a good crunch for sure. Mind your tongue as you don’t want to burn it.
4. Once the roasting is done, keep adding the seeds in a plate. Let it cool for 10 minutes and empty it quickly in a air-tight container. I roasted my fennel seeds first. Added them in a jar. After that, I roasted my flax seeds and sesame seeds; let it cool down and mixed it all together in the same skillet as the last step.