I’m at my mother’s place, and I’m constantly trying to divert my mind whatsoever. In spite of running around my toddler, I end up thinking a lot. But thanks to my cooking and baking expeditions, I rather plan to gamble with yeast and coconut milk instead of overthinking how life will be after a few months. We got to find hope. We got to calm our anxious minds. And yes, we got to save our pantry from using too many ingredients but it’s a bit tricky. How else will I divert my mind if I don’t try something new in the kitchen? I don’t mean baking a cake every day, but one or two baking expeditions in a month shall be fine?
I’m not a person who can use a weighing machine, let alone kneading a dough with yeast. These days, however, I feel like going all out there, without fearing the outcomes. It can cause embarrassment when my dough doesn’t rise or when a loaf of bread comes out flat, but who cares. Until and unless you keep going, there’s no point getting stuck and giving up. Now, I’m a basic person when it comes to food. So, I thought, it would be great if I could make some basic buns. Lockdown days don’t allow us to step out, and then I thought, what the hell, it’s high time I try making some.
So, here’s how I made some burger buns. Titli Nihaan of the Bread Kitchen came to my rescue. It is her recipe that I tried, but you got to see how it went in my kitchen.
Step one: You got to activate your yeast. If your yeast is not active, your dough won’t rise. You can never be in a rush with yeast. So, I added around two tsps of inactive yeast and two tbsps of sugar to 300 ML of homemade buttermilk. In Title’s video, her buttermilk became all frothy in ten minutes. But, it took me an hour to just see those bubbles and it almost was more than an hour when my buttermilk became all frothy. And, I was good to go to my next step. Tip: If your buttermilk is not frothy even after an hour, take some warm water and do the same process with it. It should activate in 15-20 minutes.
Step two: Knead the dough. Now, we need four cups of all-purpose flour or maida for this recipe. Maida is excellent when it comes to how soft are your burger buns, and if you have those occasionally, it’s better to eat the best ones that are risen well and that only a maida dough can help you achieve. But, I had only two cups maida with me, so I went ahead and took two cups of whole-wheat flour and two cups of maida. Added a tsp of salt, and slowly, started adding the frothy buttermilk to it. Now, make a dough. I added one cup of warm water too, as I couldn’t achieve a good consistency. After getting to a sticky dough, you need to knead it for 10-15 minutes.
Step three: Knead the dough. So, sprinkle some maida flour on a clean kitchen counter and start kneading the dough. I used some ghee and flour in between to keep the process easy. Watch Titli’s video for the technique. Have attached a link here. Then, place the dough in a big bowl and cover it with a wet kitchen towel or plastic bag or cling wrap.
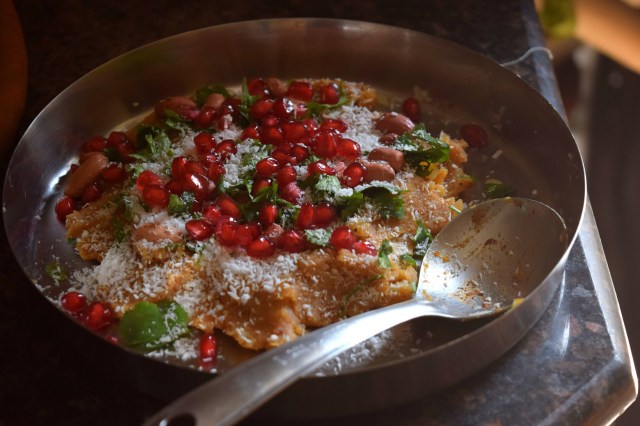
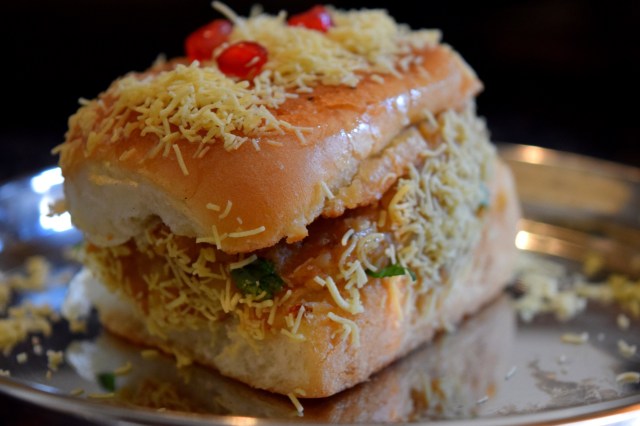
Step four: Now, for some, their dough goes double in an hour. But I took 2.5 hours. Once you know it has gone double, you need to start making the round buns and place it in a greased (I used some ghee) baking tray. Take the dough out of the bowl and knead it for a minute or two to remove the gas out. Take some flour on the counter or ghee on the palms of your hands to knead well. Now, make small balls out of it. Weigh each of the ball on a weighing machine and make sure all of them weigh the same. Then, follow Titli’s instructions and make your buns as she shows in the video. Now starts the second round of proofing the dough. Your bun balls should rise after about an hour. Cover them and keep the tray in a warm place. Tip: If you want to make pavs or Pav Bhaji, follow Nisha’s instructions in this video on how to go ahead.
Step five: After you know that the dough balls have risen, you need to bake them. With a silica/plastic brush, polish the top of each ball with milk. Once you do the milk wash, sprinkle some black and white sesame seeds on them. Bake the buns (I used the roasting option which makes the heat was on, on both the sides) on 200 C for 15-18 minutes. once you know that the buns are looking a bit brown on the top, remove the tray and check.
I was on cloud nine after this baking session. If you can activate the yeast well, chances are, your buns will turn out all right. Happy baking, you all!